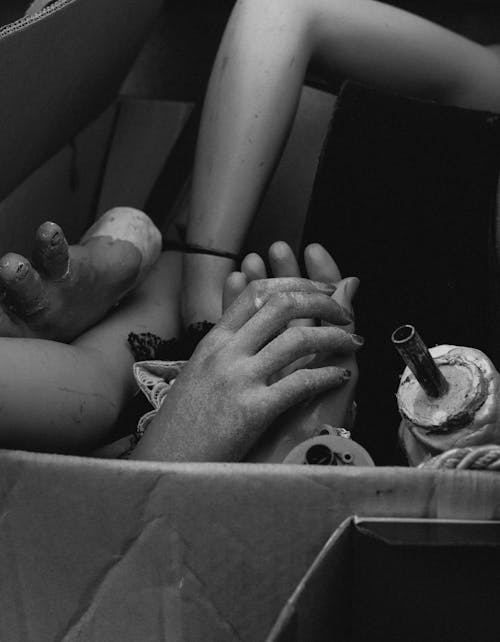
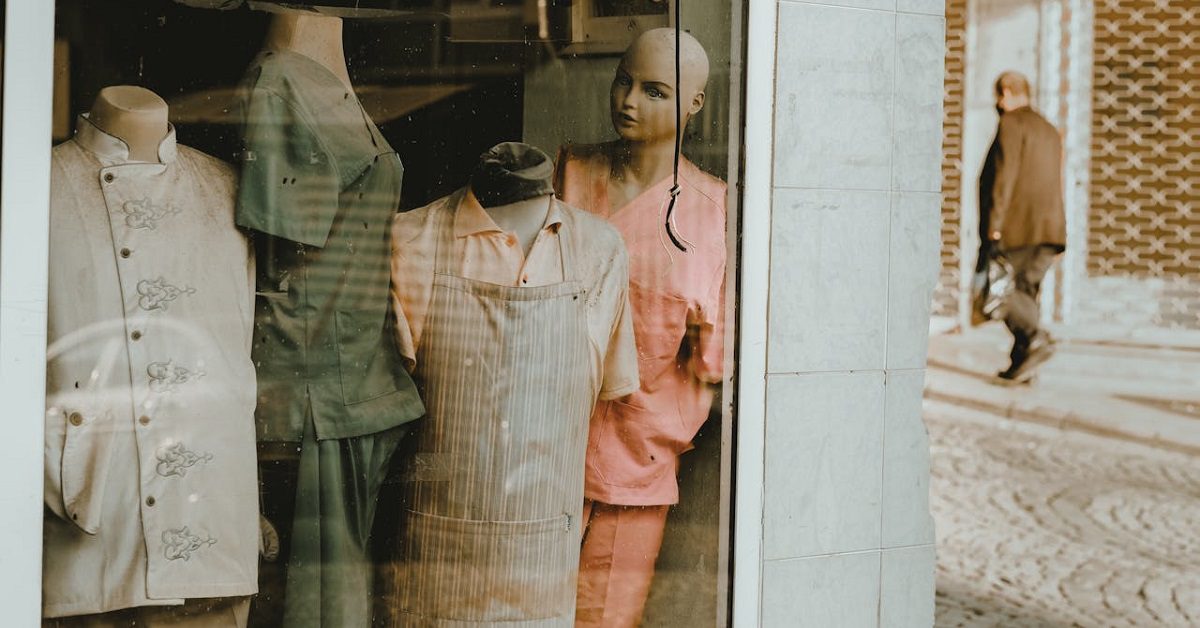
Is your mannequin looking a little bit worse for wear? Whether it’s just looking tired and grubby or needing extensive repair, we can help you restore your old mannequins so they can return to your store with a new lease on life.
Step 1: Prepare your weathered mannequin pieces
You’ll need to start by tearing your mannequin apart. Remove any clothing and then remove any easily detachable parts like arms and legs (obviously, don’t do this if your mannequin does not have detachable parts!). Taking your mannequin apart makes it more manageable to work on, allowing you to go piece by piece until it’s perfect again.
Step 2: Check for damage on your mannequin
If you have a broken mannequin, you’ll need to assess exactly what repair work is needed. Check for broken pieces, chipped paint, scratches, dents and missing chunks.
Step 3: Get sanding the broken mannequin!
To repair a mannequin, you must work with a smooth surface, which means sanding! Use fine-grade sandpaper to get a perfectly smooth finish – don’t fret about sanding off too much paint, as you’ll repaint it afterwards anyway.
Step 4: Wipe your weathered mannequin down
You must work with a clean surface free from dust, dirt, and debris when fixing mannequins. Use rubbing alcohol or soap and water on a lint-free cloth, working in gentle circular motions to avoid damaging your mannequin further. Leave it to dry before proceeding to the next step.
Step 5: Repair your old mannequins
This is where you’ll need to do a little bit of DIY. You’ll need a few tools for different repair uses, including:
- Heavy-duty, double-sided tape: look for double-sided foam, film tape, or anything that will bond your mannequin pieces very well. This is great for repairing small sections.
- Superglue: great for any sections that won’t be covered by clothing or jewellery, like fingers.
- Epoxy: this should be applied in thin layers, building up until the section is full, and then sanded to a smooth finish when dry.
- Polyfiller: This is used to fill in dents or holes. A small spackle knife is applied to it and sanded when dry. It can be useful when small gaps are left after glueing pieces back together.
When your mannequin is repaired and dry, give it another good sanding to ensure a smooth finish, and then clean it again to remove any grit or dust.
Step 6: Painting old mannequins
You may be able to do this yourself or need to rely on your local mannequin shop for help. If you want to repaint in the exact same shade as before, you might need a specialist paint dealer to help you choose the right colour. And when it comes to refreshing the face, an expert might be better placed to get the details right.
However, if you intend to repaint the whole weathered mannequin with a simple structure and few realistic details, you can probably do it yourself. When painting large sections of your broken mannequin, spray painting might be best. This allows you to do thin coats that you can build up as necessary. Make sure you wait for each layer to dry before adding another coat.
We’ve found a great video to help you if you need more tips and tricks with your old mannequins. This might explain how to repair a mannequin visually so that you feel confident to start: Don’t throw away your old mannequins!! Check out how to restore and repair an old mannequin.
Check out Valentino’s mannequin shop online!
We know what we’re talking about when it comes to fixing mannequins! As the UK’s number one mannequin shop online, Valentino’s has many years of experience in the industry. And, if it turns out that your mannequin is beyond repair, we can help you choose a new one that will last longer and help you sell more clothes. Our range is vast, and our prices are fantastic, so you will surely be delighted with your purchase.
If you need more help with your retail endeavours, check out the other articles on our blog.


